Create an agent
Creating a custom AI agent in Ordify requires no coding. In just a few steps you can build an agent tailored to your specific needs and start using it immediately.
Step-by-step guide
Step 1: Start creating your agent
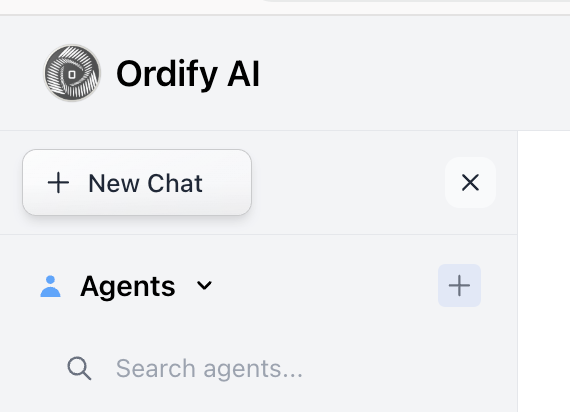
Click "+" on the Agent Navigation to open the agent creation modal, where you'll configure your agent's profile, capabilities, and knowledge.
Step 2: Use Agent Builder
Click the Agent Builder button to quickly generate your agent's core details.
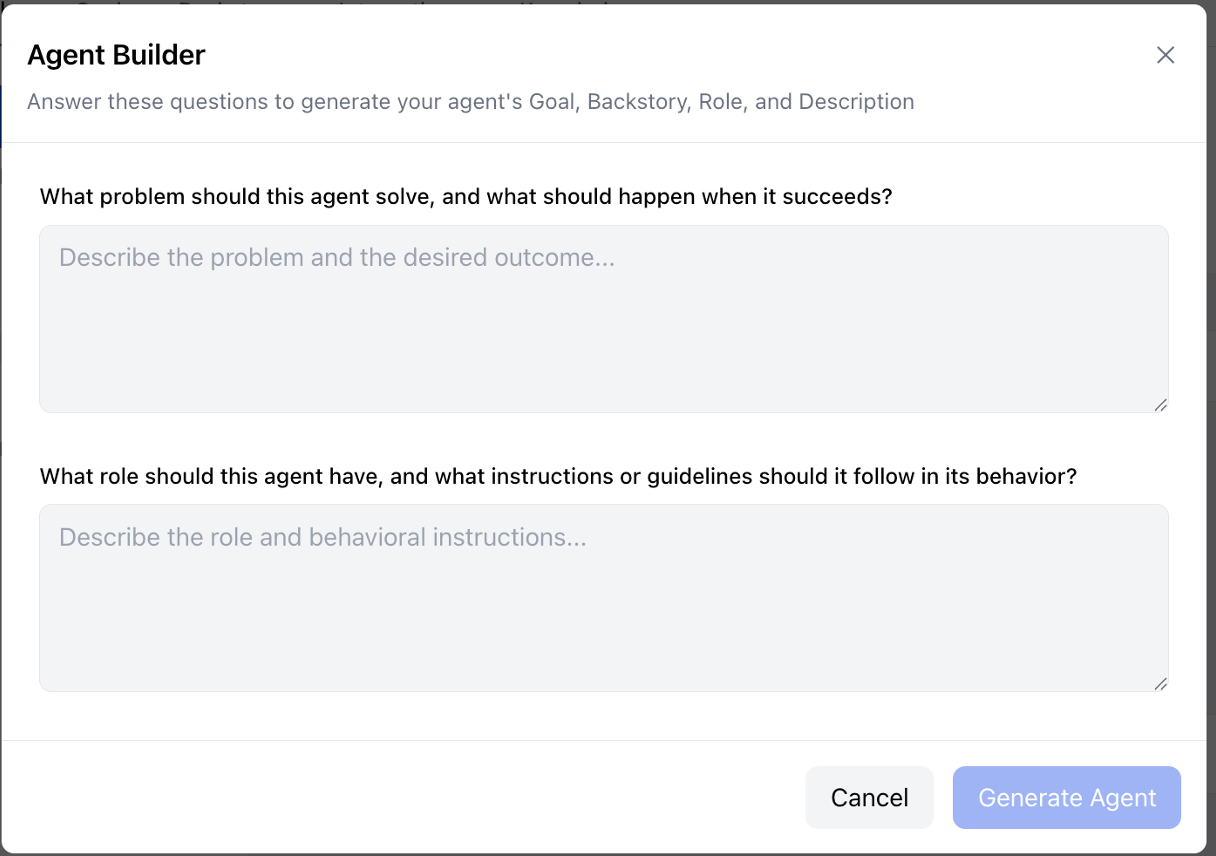
The Agent Builder asks two key questions:
-
"What problem should this agent solve, and what should happen when it succeeds?"
- Describe the problem and the desired outcome
- This generates your agent's Goal
-
"What role should this agent have, and what instructions or guidelines should it follow in its behavior?"
- Describe the role and behavioral instructions
- This generates your agent's Role, Instructions, and Backstory
Based on your answers, the Agent Builder automatically fills in:
- Goal: What the agent should accomplish
- Instructions: How the agent should behave
- Backstory: The agent's context and background
- Description: A summary of the agent's capabilities
Visual configuration
Once generated, you can fine-tune every field in real time:
- Role: The agent's function (e.g., "Marketing Director," "Support Agent")
- Goal: The objective the agent pursues
- Backstory: Step-by-step behavioral instructions
- Description: A short summary shown in the Library
Step 3: Add application integrations and skills (optional)
In the Integrations tab, connect your agent to external applications.

Connect Apps:
- Click Connect App
- Browse and select from over 3,000 available applications
- Connect popular services like Gmail, Google Calendar, Notion, and more
MCP Servers:
- Click Add MCP Server
- Connect custom MCP (Model Context Protocol) servers for internal tools
- See MCP Servers for setup details
Skills:
- Click Add Skill
- Search or browse for existing skills in your Library
- Attach Skills that bundle focused instructions and tools for specific workflows
Step 4: Add knowledge documents (optional)
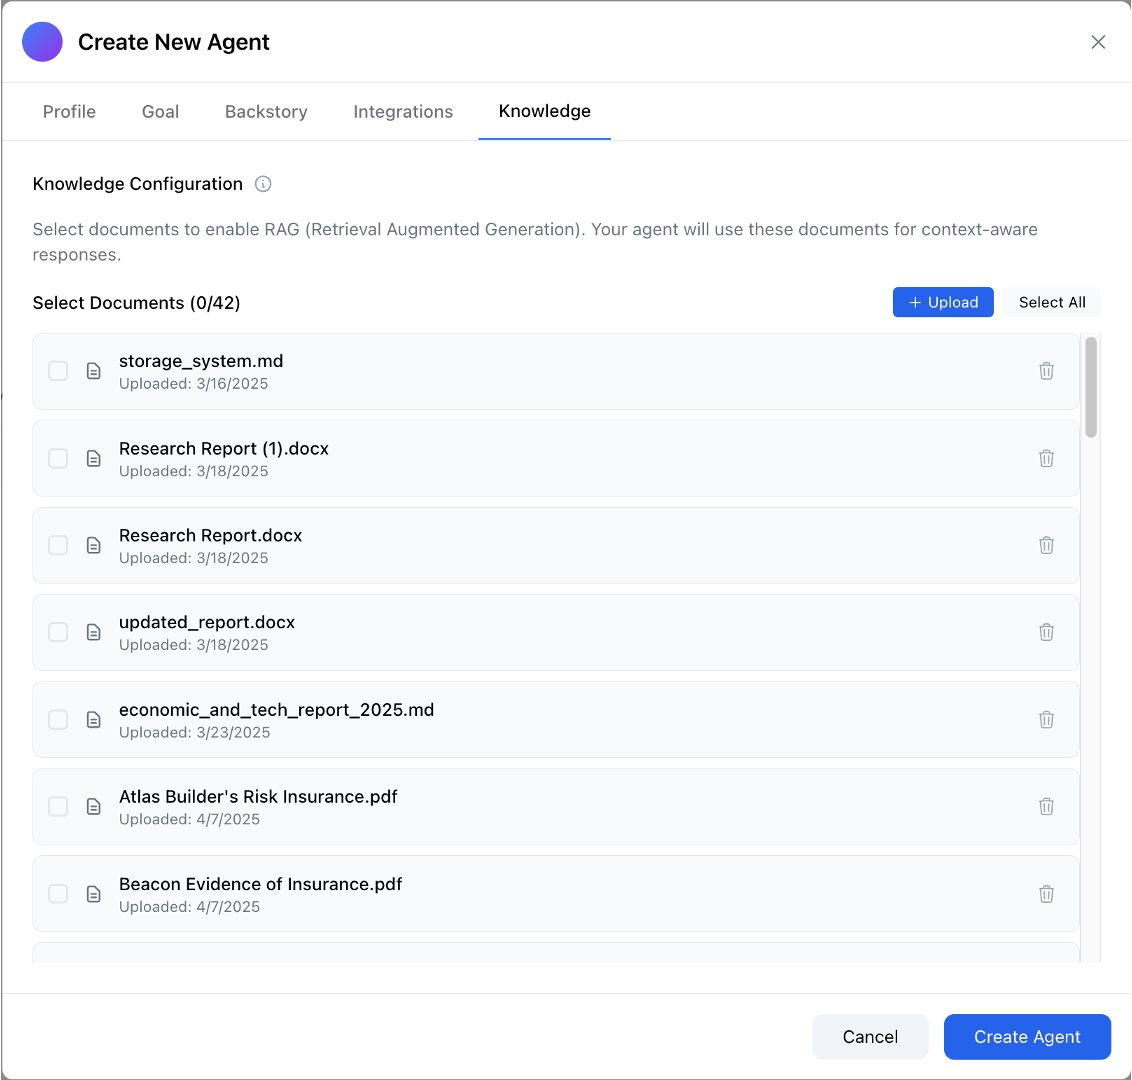
In the Knowledge tab, add documents to enable RAG (Retrieval Augmented Generation) for your agent.
RAG allows your agent to:
- Access up-to-date information from your documents
- Reference company knowledge, policies, or procedures
- Answer questions based on your proprietary content
Knowledge configuration:
- Select documents to enable RAG for context-aware responses
- Upload new documents using the + Upload button
- Select from your existing document library
- Assign entire synced folders for automatic updates
Use the Document Library to manage RAG data, upload documents, organize folders, and share them with your team. For a full guide see RAG setup.
Step 5: Connect Jobs (optional)
In the Jobs tab, you can allow this agent to invoke specific Jobs from within a conversation:
- Open the Jobs tab for your agent
- Select the Jobs this agent is allowed to call
- Update the agent's Instructions to describe when and how to invoke each job (for example, "When a user asks for a full proposal, call the 'Draft Sales Proposal' job with the account details from the conversation.")
See What is a job and Agents calling Jobs for more detail.
Step 6: Create and use your agent
Click Create Agent to finish. Your agent is now ready to use.
Using your agent
Chat directly with your agent
- Click on the agent in the left sidebar to open a direct chat
- @mention the agent by name in any conversation
Use in multi-agent workflows
Your agent can be added to Jobs — multi-agent workflows where multiple specialized agents collaborate on complex tasks.